The Mercury Ball Test: How to Prevent Sticking on Stainless Steel
The secret to cooking with stainless steel without sticking is proper preheating. When you heat your Goldilocks cookware to the right temperature, you activate the Leidenfrost Effect—a phenomenon where food actually floats on a thin layer of steam, preventing it from sticking to the pan surface.
This technique is used by professional chefs worldwide and is the key difference between frustrating sticky experiences and effortless cooking with stainless steel cookware.
Step-by-Step: The Mercury Ball Test
- 1
Heat the Pan
Place your empty Goldilocks pan on medium to medium-high heat for 2-3 minutes. Avoid high heat initially.
- 2
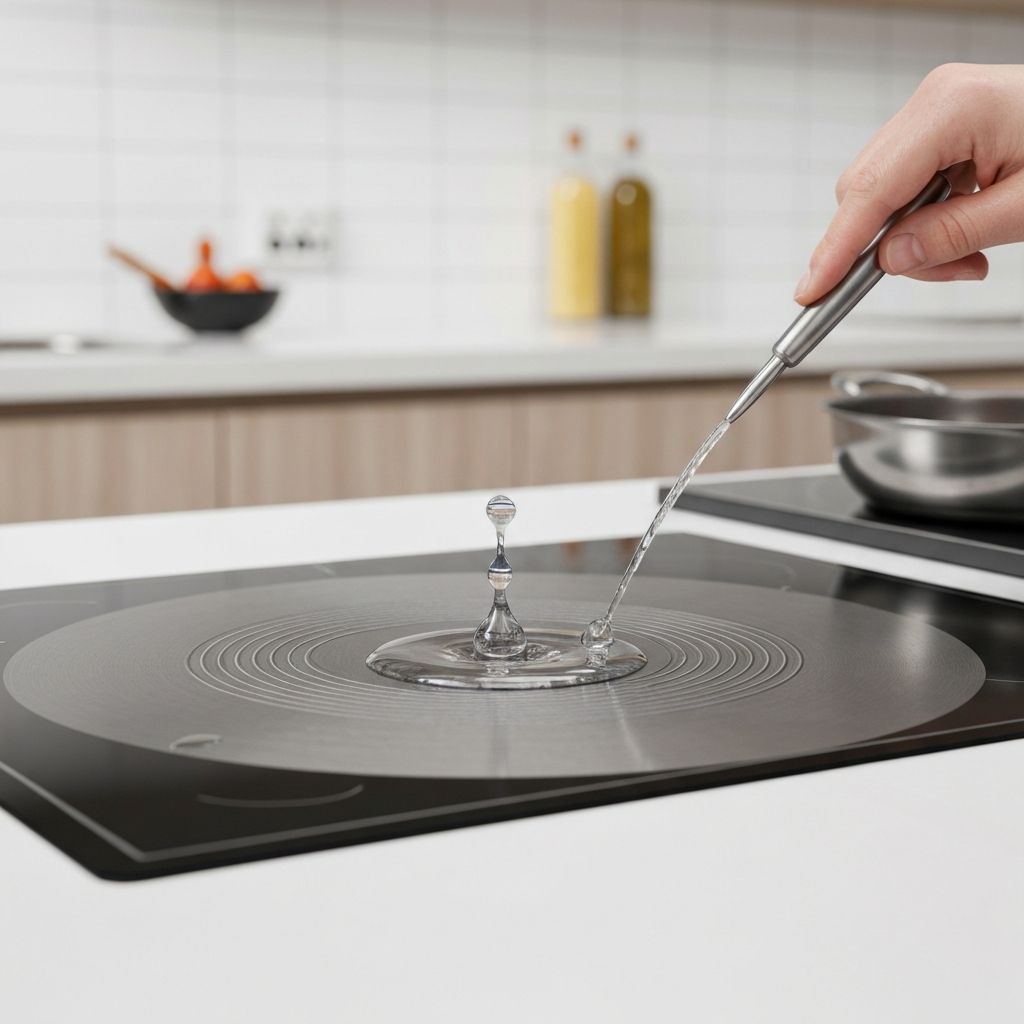
Test with Water
Flick a few drops of water into the pan. If the water sizzles and evaporates, it's not ready. If it forms a ball that rolls around the pan like mercury, it's perfect.
- 3
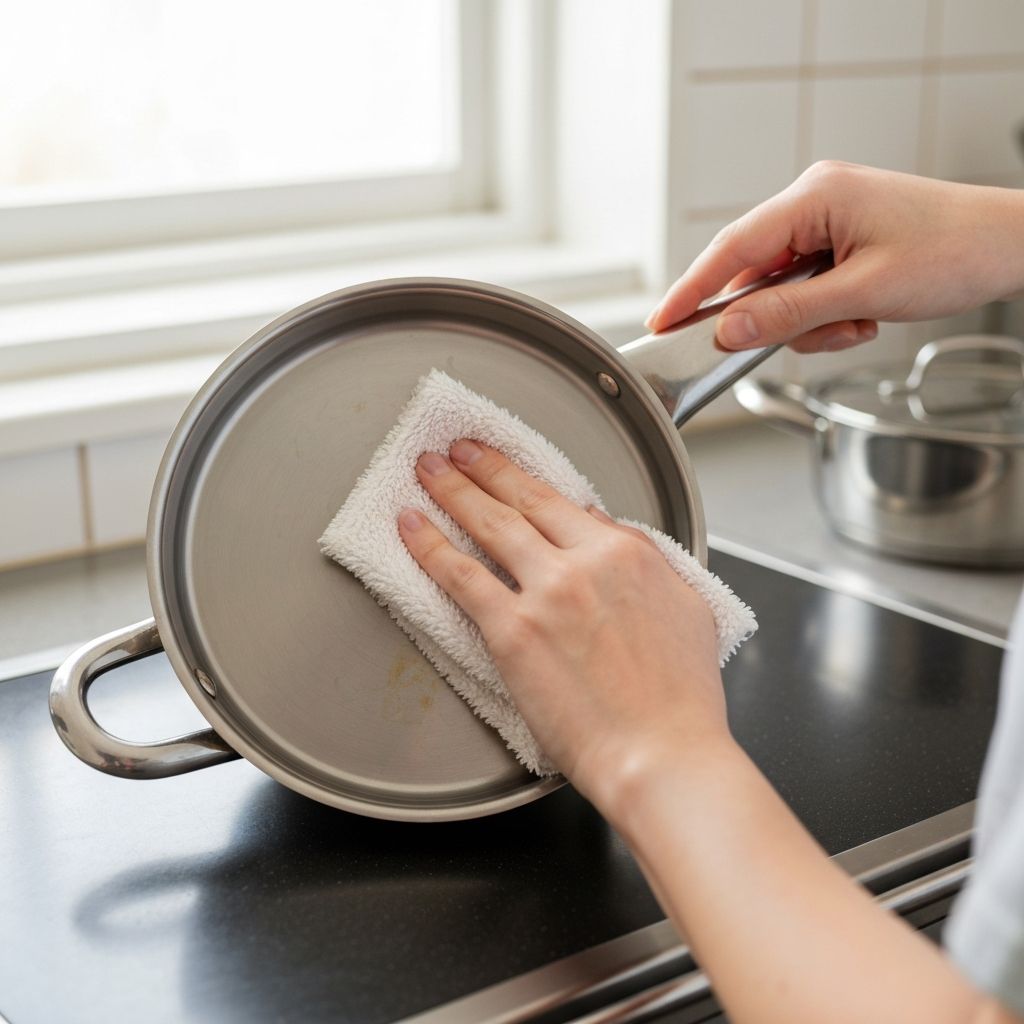
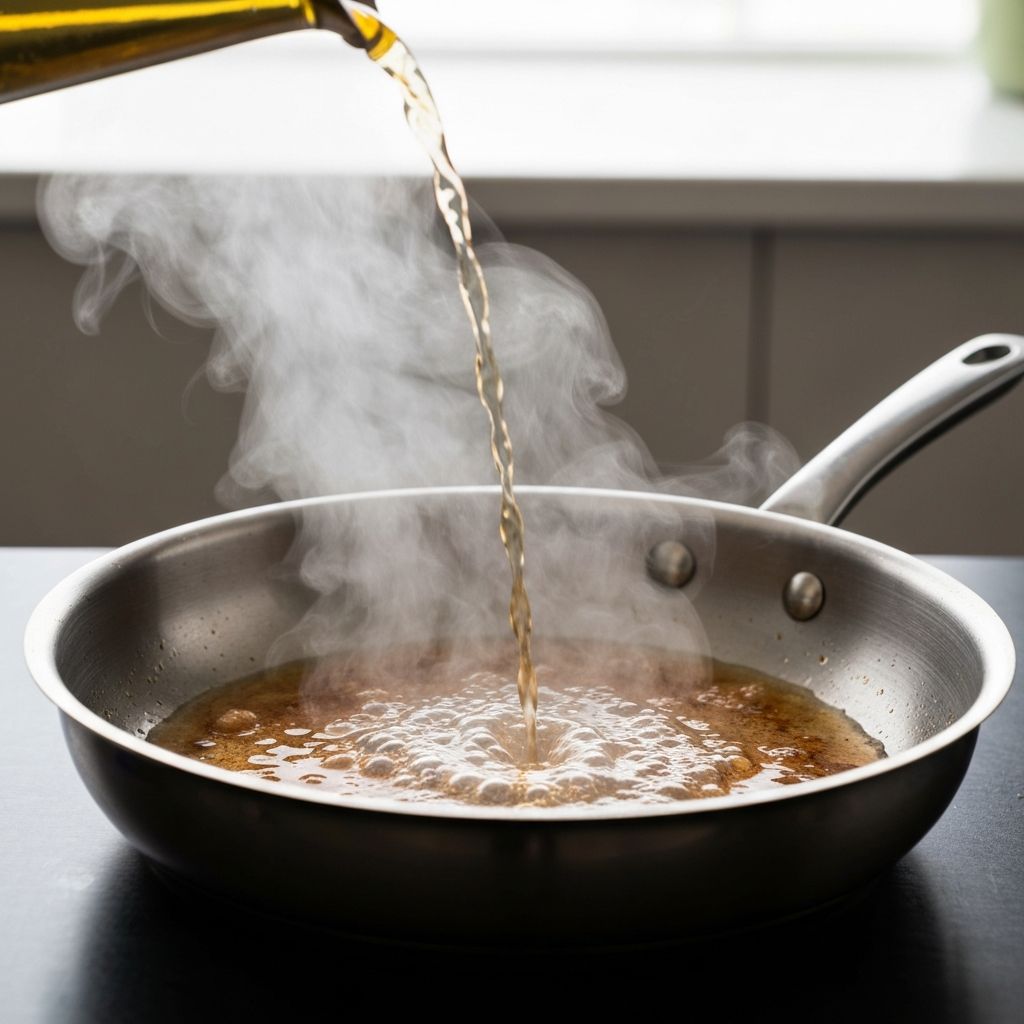
Add Fat, Then Food
Once the water balls up, wipe the pan dry, add your oil or butter, swirl to coat, and immediately add your food. The Leidenfrost Effect will prevent sticking.
- 4
Let Food Release Naturally
Don't force food to move. When properly seared, it will release naturally from the pan. If it's sticking, it needs more time to develop a crust.
Pro Tip
For proteins like fish or chicken, pat them completely dry before adding to the pan. Moisture is the enemy of a good sear and can cause sticking even in a properly preheated pan.